반응형
Cloud9 에서 selenium 으로 크롤링하기 (Ubuntu)
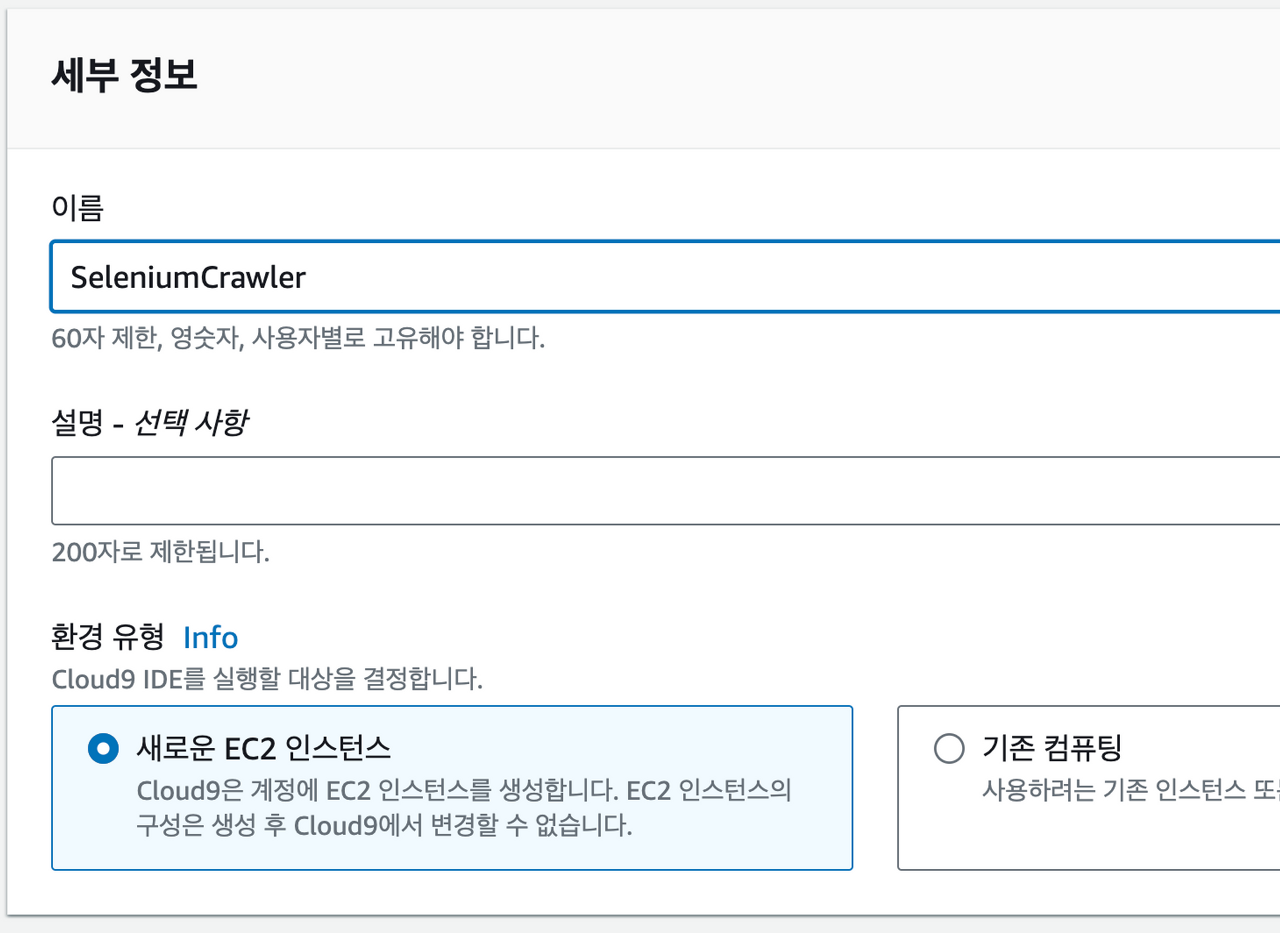
환경 생성


플랫폼은 Ubuntu 를 선택
나머지는 기본으로 하고, [생성] 클릭.
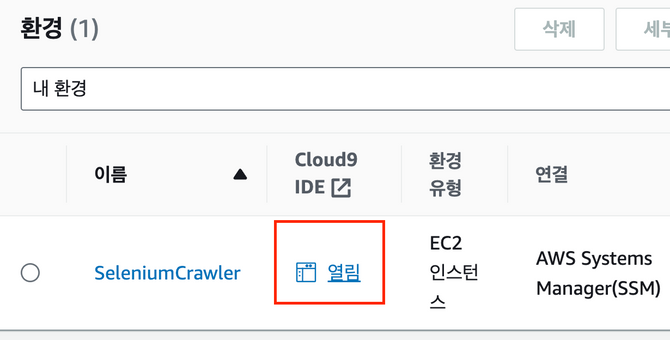
환경이 생성이 완료되면 접속

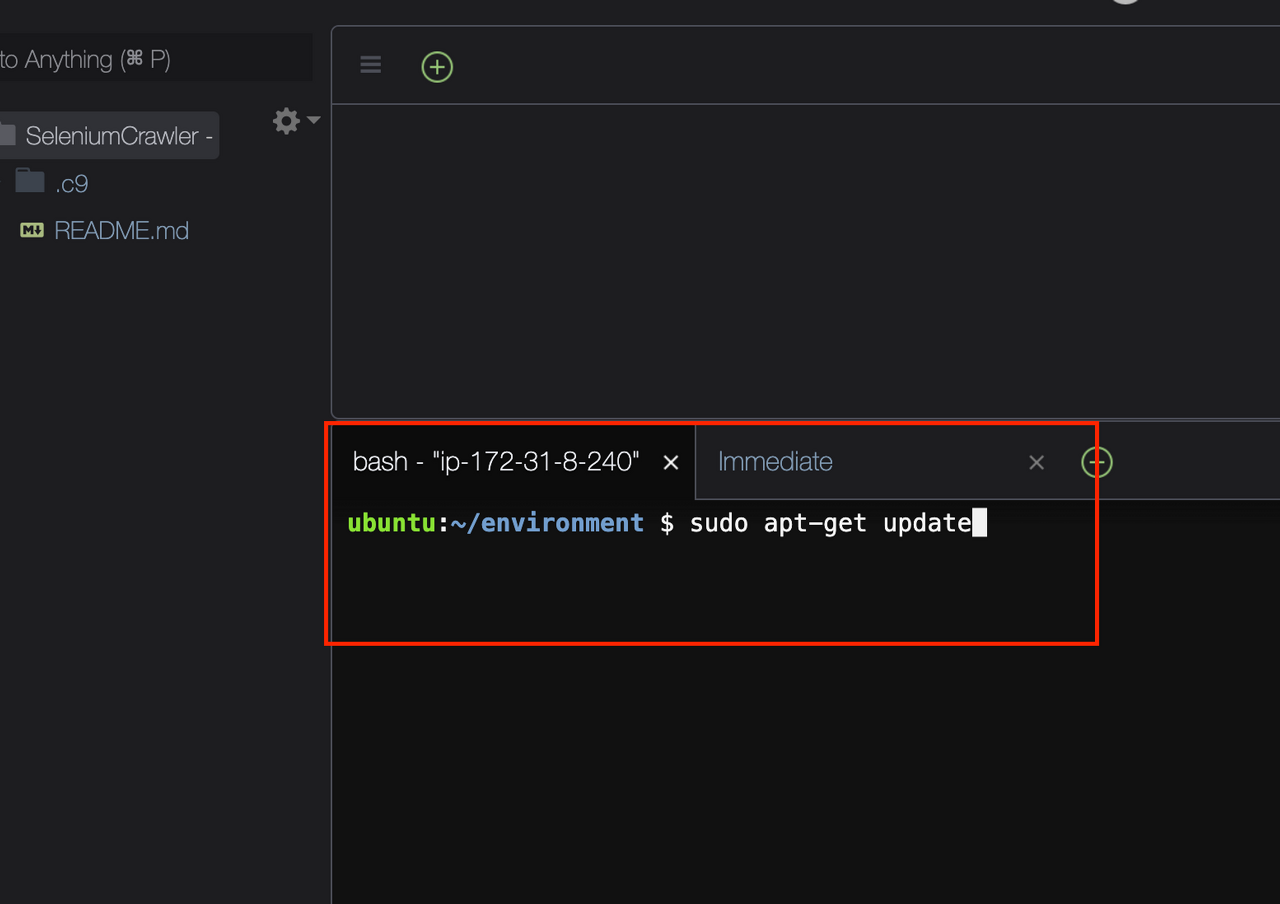
터미널에서 다음 명령어 실행

sudo apt-get update완료되면 다음 명령어 실행
sudo apt-get install -y libappindicator1 fonts-liberation

sudo apt-get install -f
다음 명령어로 크롬 다운로드
wget https://dl.google.com/linux/direct/google-chrome-stable_current_amd64.deb크롬 설치
sudo dpkg -i google-chrome-stable_current_amd64.deb
설치된 chrome version 확인
google-chrome-stable -version
아래와 같이 오류가 발생한다면

이 문제를 해결하기 위해서, 아래 명령어 입력
sudo apt-get install libatk-bridge2.0-0
sudo apt-get --fix-broken install
설치 중간에 [Y/n] 나오면 y 입력
설치가 완료되면, 다시 버전 확인
google-chrome-stable -version
글 작성 시점의 최신버전인 google-chrome 115 버전을 확인.

cli 테스트
google-chrome-stable --headless --disable-gpu --print-to-pdf https://hello-bryan.tistory.com/490
이렇게 나오면, root 경로에 output.pdf 가 생성되고 정상적으로 실행된 것
Selenium 설치
글 작성 시점의 최신버전인 4.10.0 설치
pip3 install selenium==4.10.0
pip3 install webdriver_manager==4.0.0
python 크롤링 코드 작성
main.py 파일을 생성하고, 아래와 같이 sample 코드 작성
from selenium import webdriver

from selenium.webdriver.chrome.service import Service
from webdriver_manager.chrome import ChromeDriverManager

from selenium.webdriver.common.keys import Keys
from selenium.webdriver.common.by import By
from selenium.webdriver.chrome.options import Options


if __name__ == '__main__':

    chrome_options = Options()
    chrome_options.add_argument('--headless')

    print(ChromeDriverManager().install())
    driver = webdriver.Chrome(service=Service(ChromeDriverManager().install()), options=chrome_options)

    page_data = ''

    driver.get('https://hello-bryan.tistory.com/category/AI')
    # 검색어 입력
    title_list = driver.find_elements(by=By.CSS_SELECTOR, value="span.title")
    for title in title_list:
        print(title.text)

    driver.quit()
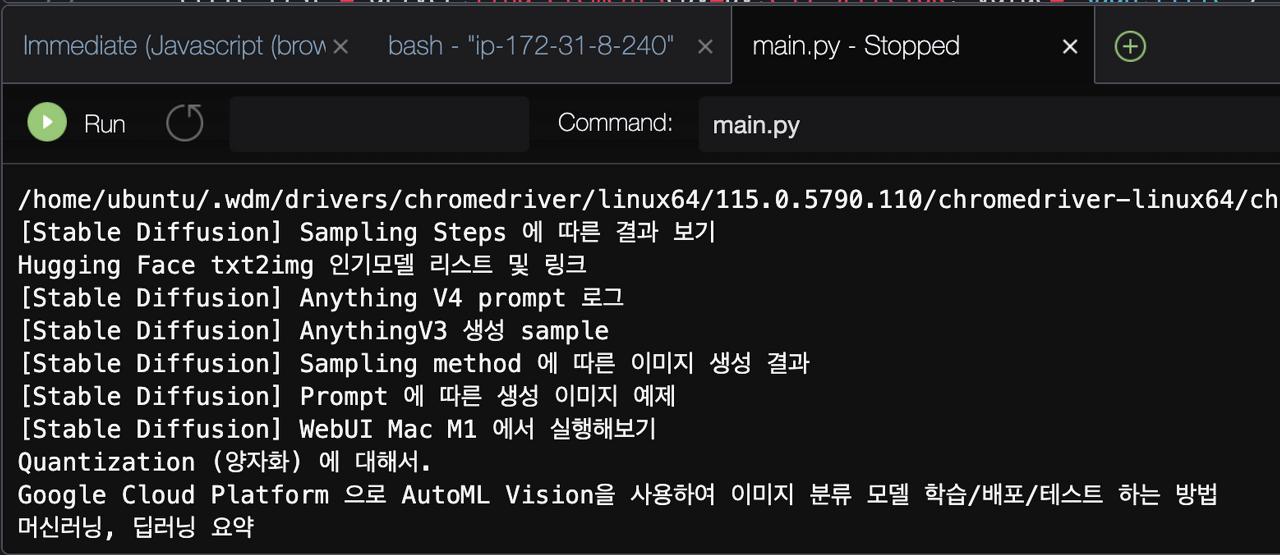
실행결과

728x90
반응형
'AWS' 카테고리의 다른 글
| AWS - RDS - MySQL 사용해보기 (외부접속 설정) (0) | 2023.08.12 |
|---|---|
| AWS Cloud9 에서 Selenium 으로 크롤링 하기(Amazon Linux2) (2) | 2023.08.01 |
| [AWS] Cloud9 으로 Stable-Diffusion WebUI 띄워서 접속하기 (0) | 2023.03.26 |
| [Cloud9] Amazon Linux 2 에서 no space left on device 해결 (4) | 2023.03.25 |
| [Cloud9] Amazon Linux 2 에서 Python3.10 설치하기 (0) | 2023.03.25 |


댓글